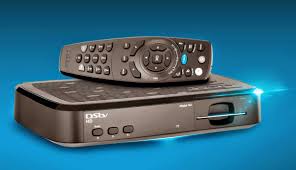
DStv HD Decoder
The price for the DStv HD Decoder is N18,500. This price is for the full package, which includes the Decoder, Dishkit and a free one month Compact subscription.
Specifications
LNB IN — Connects the unicable port from your lnb to the decoder. At the back of your decoder, there is a port written: “LNB In”. Use that port to connect the RG6 cable from the dish. Once you have connected the decoder correctly to the satellite dish, run the installation wizard.
AV — Input on a decoder receives (AV) audio/visual signals from electronic equipment that generates AV signals (AV output). AV cables are “all-in-one” and therefore don’t use the RCA colour codes.
HDMI — If you have a HD TV, use the supplied HDMI cable and connect it to the HDMI port on the back of the decoder, then connect the other end to the HDMI port on the TV.
USB — DStv decoders has a USB port that may be used to attach a DStv Wi-Fi Connector allowing access the Internet using Wi-Fi, enabling features such as Catch Up Plus and setting remote recordings.
Power In — Connect the power supply to this input and then plug the other side into the mains.
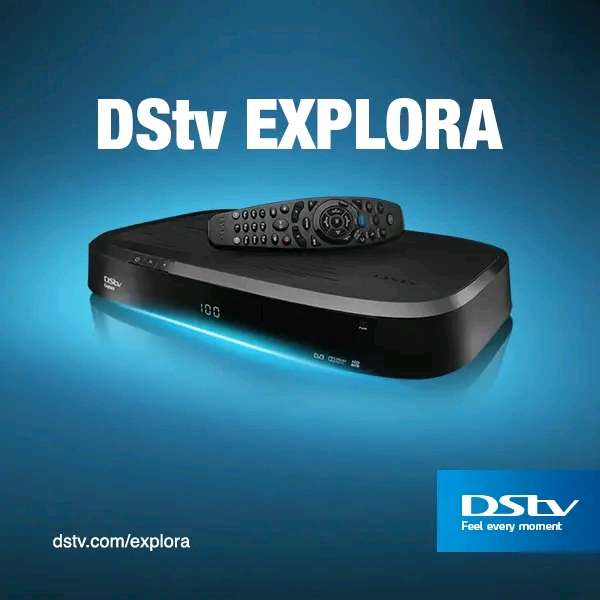
DStv Explora Decoder

The price for a DStv Explora Decoder in Nigeria is N116,000. This price is for the full package which includes the Decoder, Dishkit, and a Smart LNB.
Specifications
Unicable IN — Connects the unicable port from your lnb to the decoder. At the back of your decoder, there is a port written: “Unicable in”. Use that port to connect the RG6 cable from the dish. Once you have connected the decoder correctly to the satellite dish, run the installation wizard.
Audio Out (L) — The white RCA port is a stereo audio output. If you have a non-HD TV, use the supplied RCA cables and connect the red, white and yellow inputs to the RCA ports on the back of the decoder, then connect the red, white and yellow inputs to the RCA ports on the TV or other external amplifiers.
Audio Out (R) — The red RCA port is a stereo audio output. If you have a non-HD TV, use the supplied RCA cables and connect the red, white and yellow inputs to the RCA ports on the back of the decoder, then connect the red, white and yellow inputs to the RCA ports on the TV or other external amplifiers.
Video Out — The yellow RCA port is a composite video output. If you have a non-HD TV, use the supplied RCA cables and connect the red, white and yellow inputs to the RCA ports on the back of the decoder, then connect the red, white and yellow inputs to the RCA ports on the TV or other external amplifiers.
Digital Video Out (Optional) — Connect the decoder to your home theatre system using the SPDIF port on the decoder.
Audio Optical — Connects audio to an external amplifier. Unlike other cabling standards, the optical audio system uses fiber optic cables and laser light to transmit digital audio signals between devices.
HDMI — If you have a HD TV, you can use the supplied HDMI cable and connect it to the HDMI port on the back of the decoder, then connect the other end to the HDMI port on the TV.
USB — DStv decoders has a USB port that may be used to attach a DStv Wi-Fi Connector allowing access the Internet using Wi-Fi, enabling features such as Catch Up Plus and setting remote recordings.
Ethernet — Plug the Ethernet cable into the green Ethernet port at the back of your decoder and plug the other side of the Ethernet port into your internet capable router. Use the connectivity checker on your decoder to confirm that you are connected to the internet.
Power In — Connect the power supply to this input and then plug the other side into the mains.
Related Links
- DStv Yanga Price and Channels List
- DStv Compact Plus Price and Channels List
- DStv Compact Price and Channels List
- DStv Padi Price and Channels List
- DStv Confam Price and Channels List
- DStv Premium Price and Channels List
- GOtv Jolli Price and Channels List
- GOtv Jinja Price and Channels List
- GOtv Smallie Price and Channels List
- GOtv Supa Price and Channels List
- GOtv Max Price and Channels List
- GOtv Supa Plus Price and Channels List


Leave a Comment